
How to import products in Magento 2
The enhanced product import possibilities of Magento 2 allow to upload goods in a faster and more flexible manner, than in the previous version. Nevertheless, It is a good idea to use a Magento 2 product import tutorial to ensure the process goes smoothly.
You can use this article to learn how to import products in Magento 2.
How to Import Products with the Default Magento 2 Importer
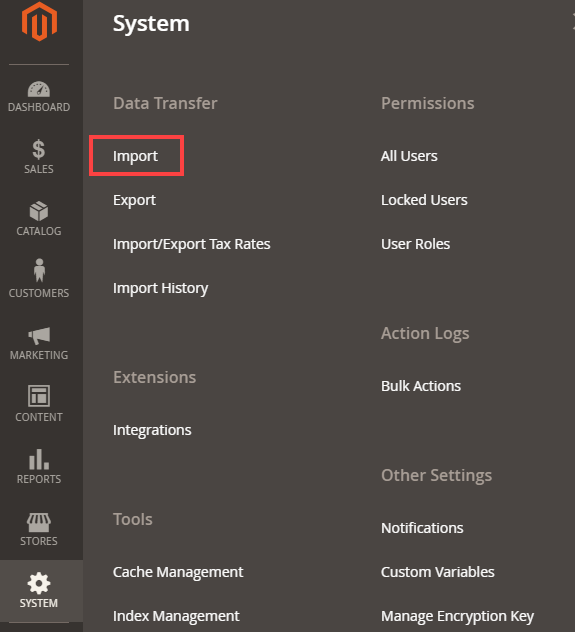
- From Magento 2 admin go to System => Import
- Select entity type: Products
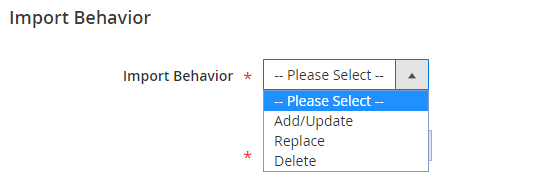
- Select Import Behavior action:
- Add/Update - create new products or update the existing ones (you can update any product detail except SKU)
- Replace - replace the existing products data with data contained in the import file
- Delete - remove the products whose SKUs match products from the spreadsheet
- Specify whether you want the import process to pause, if an error occurs. Also, set the number of errors allowed before the import stops.
- After that, select Field separator, Multiple Value Separator and Empty attribute value constant.
- Press on 'Choose file' button and select the prepared CSV.
- Press 'Check data' button for Magento to validate the CSV format.
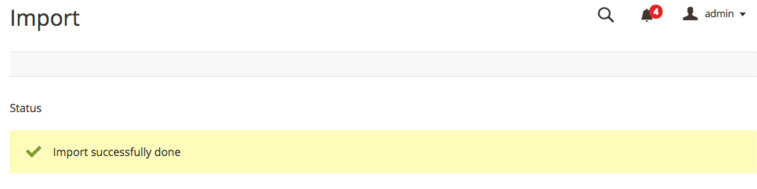
- Once you get the 'File is valid' message, tap on 'Import' button.
- The 'Import successfully done' message means that the products were successfully added/ updated in your Magento 2.
Import Settings & CSV Preparation

To avoid CSV errors, download sample import file and prepare the file according to the required format.

The file size limit is determined by settings in the php.ini file on your server. Magento default import file size is 2MB.
Import Behavior Settings


It is recommended to check 'Fields Enclosure' box to prevent incorrect data import. For example, such characters as equal sign, space, ampersand, etc can cause some troubles during import. Though if you check the box, Magento will enclose them into additional double quotes.
File Upload
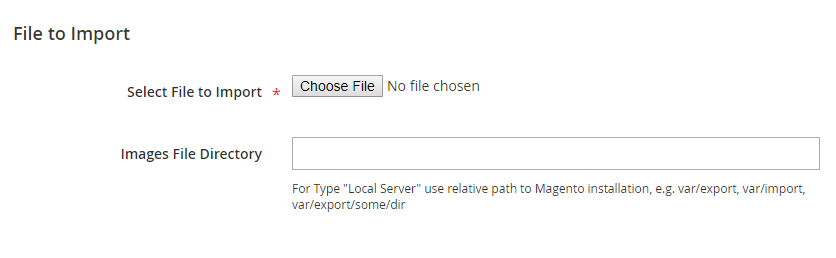
In case you want to upload images as well, enter the path to folder with media into 'Images File Directory' field.
CSV Validation


Import products via the Store Manager for Magento Import Wizard
Store Manager simplifies Magento 2 product import with the help of Import Wizard. The tool guides you through the process in a step-by-step manner allowing to easily move back and forth the import stages. Also, it allows to preview the file just before uploading it to the database.
To upload products to Magento 2 using Store Manager, follow these steps:
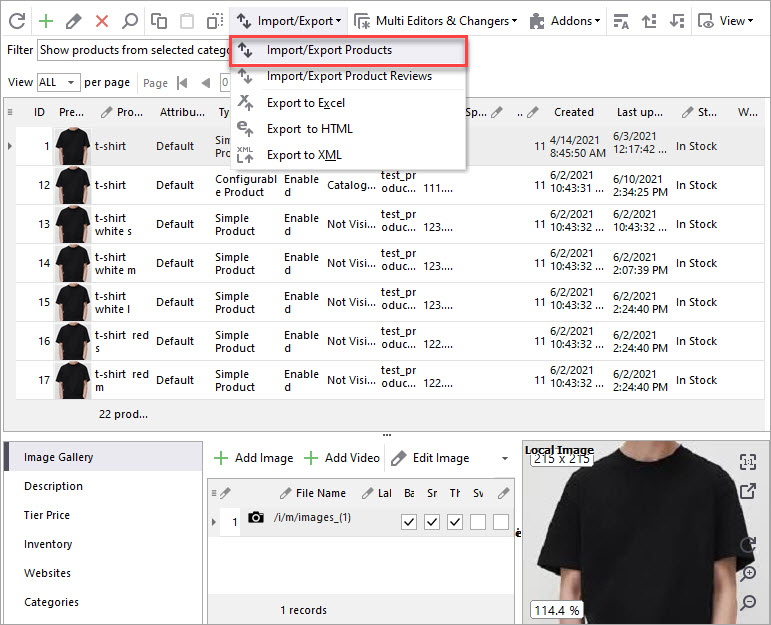
- From Store Manager toolbar press on Import/Export wizard and select Products from the dropdown.
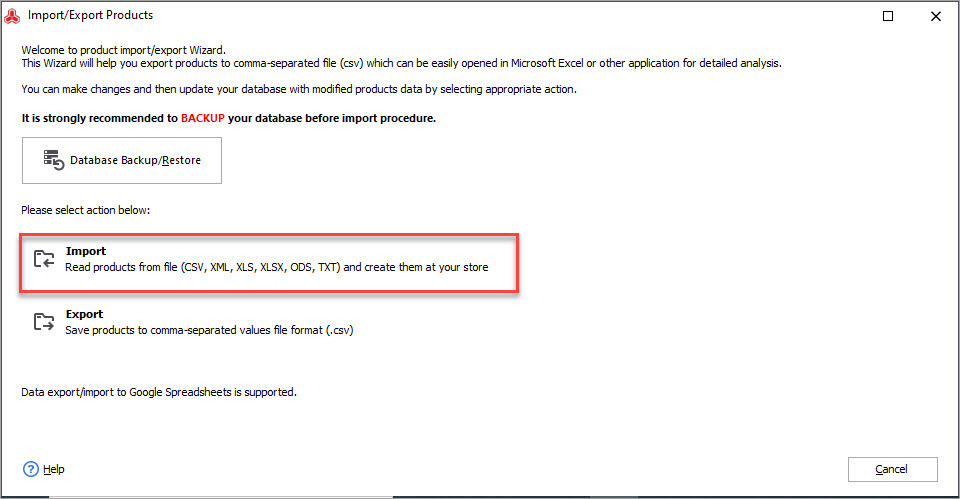
- Select 'Import' action.
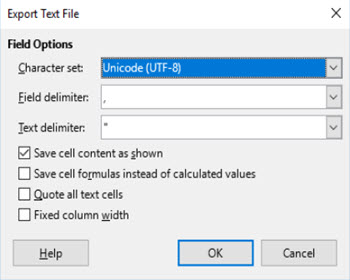
- Choose the file with products from directory and select the file charset
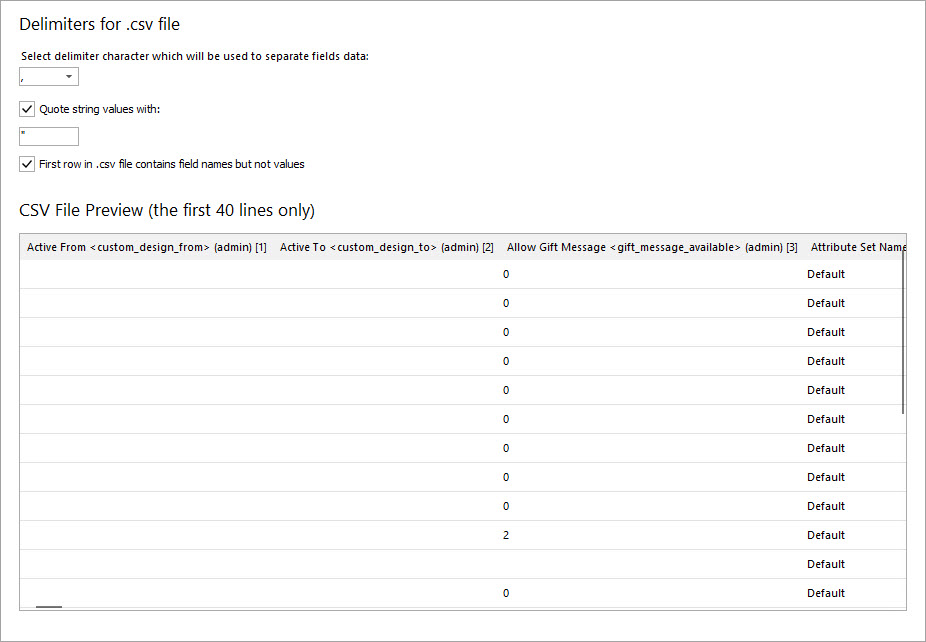
- Set up the delimiters to separate fields data
- Select the delimiters for file details separation
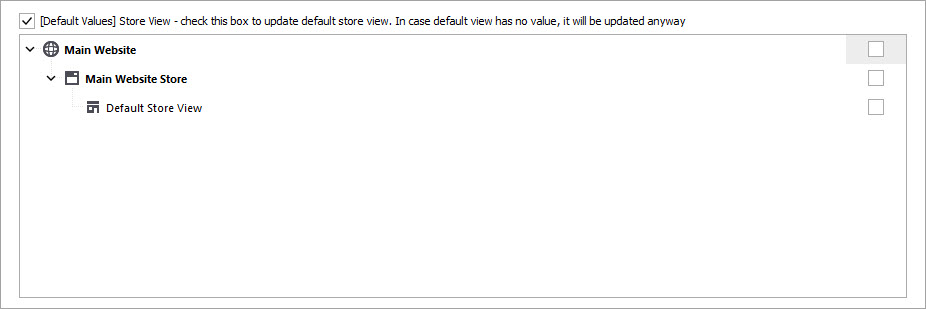
- Check to what storeviews you want to import products.
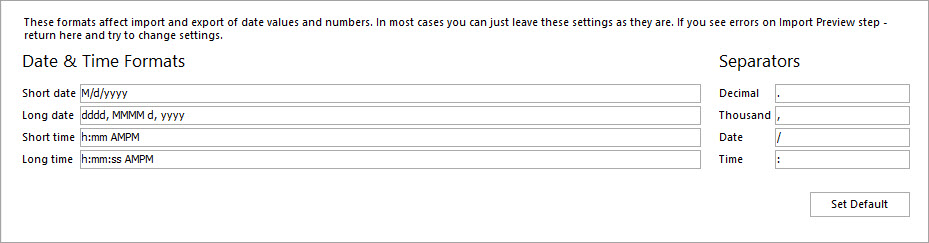
- In case you import date and time values, configure their formats and separators. If not, you can leave them as they are.
- For Store Manager to understand whether a product already exists in the database or need to be created, specify how to identify products and their relations.
- At the Preview Import step check how the configured CSV looks like. If you notice some errors, move back to previous steps and check the configuration.
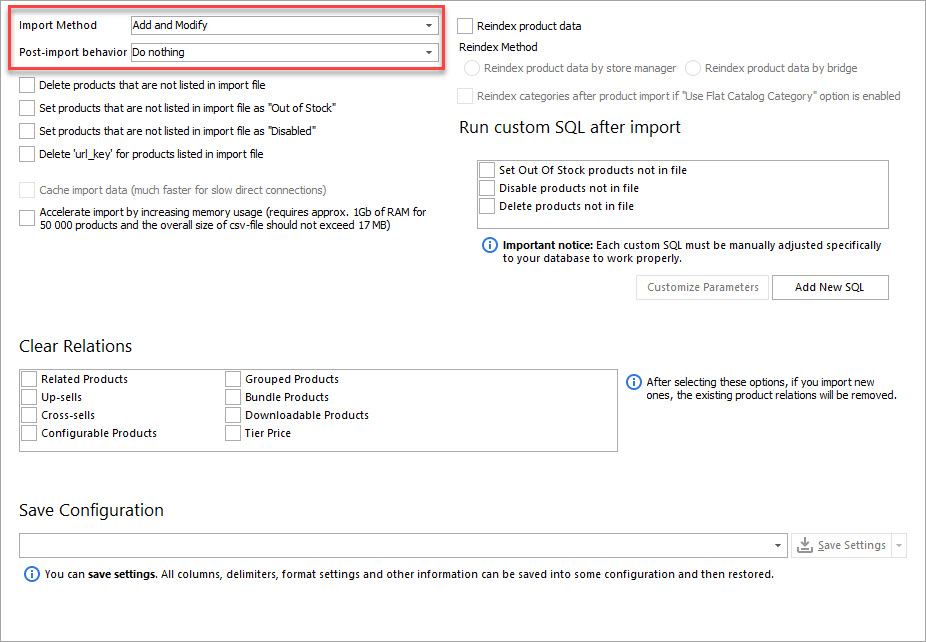
- Select import method:
- Add and modify - add new products and modify the existing ones
- Add only - only add new goods and do not update existing ones
- Modify only - update existing products and do not create new
- Just add - create new products and do not search the existing ones
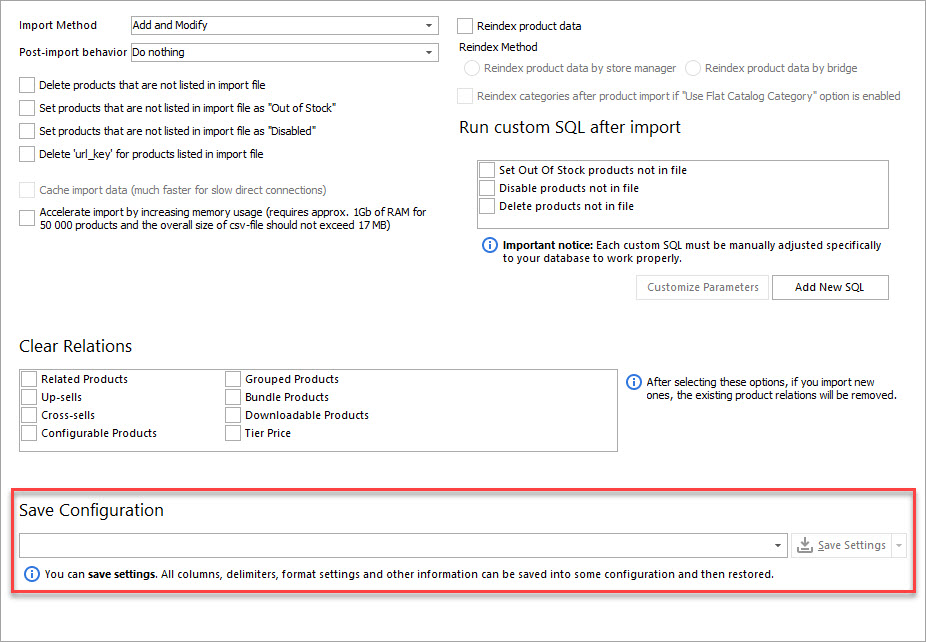
- If necessary, you can save the import configuration and upload it during the next import.
- To start running import, press 'Import' button.

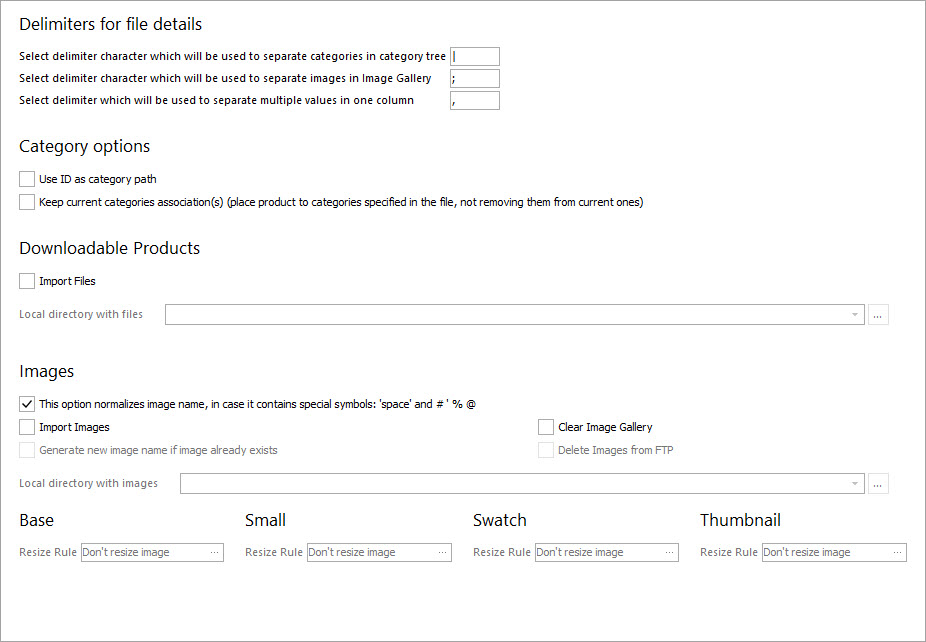
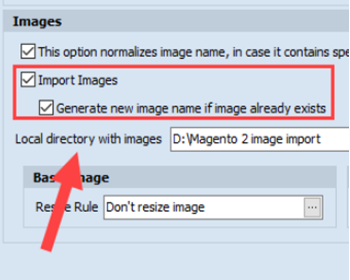
It is possible to import images along with products. To do that, input the path to file with images into Local directory with images field.
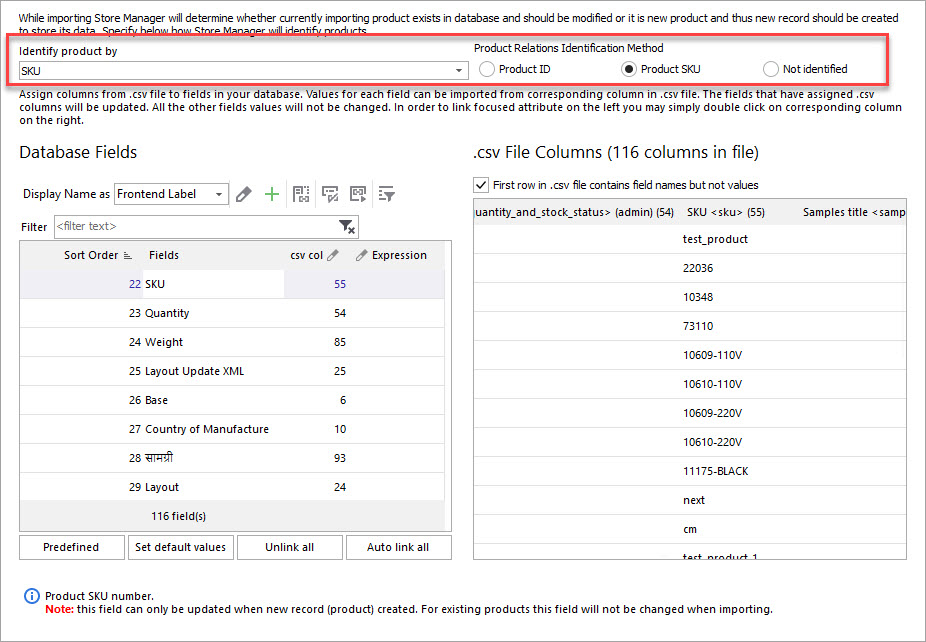
After that, map CSV columns to database fields. Here how you can do this: click on the database field on the left and after that click on the column name on the right. You can check whether the filed is assigned if you look at 'csv col' filed - it should contain the number of the columns assigned.
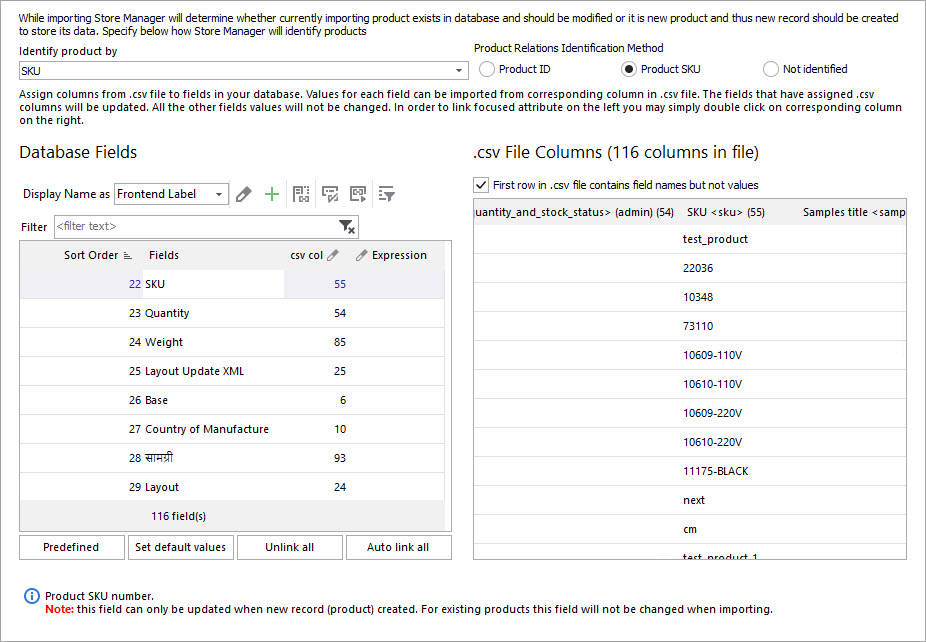
To autolink all fields to columns or unlink all of them, use the corresponding buttons.

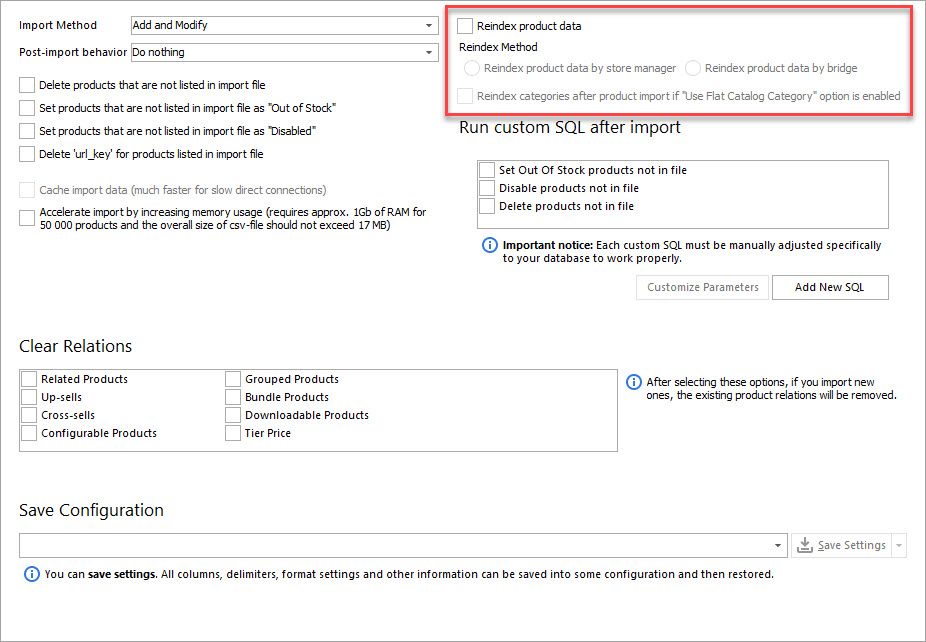
To reindex product data during the import, check the corresponding box and select the reindex method.
You can test Store Manager import possibilities by getting a free trial 14-days version.
Try importing products with Store Manager for free - Try Now
Related Articles:
Why Products Are Not Showing Up After Magento 2 Import?
Reasons of missing products after Magento import and their solutions. Read More...
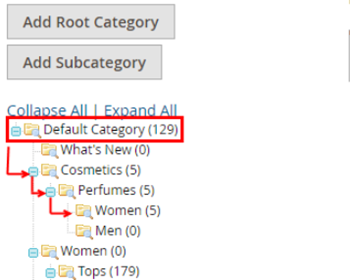
How to Import Categories to Magento 2
Detailed guide on Magento 2 category import withh CSV sample. Read More...
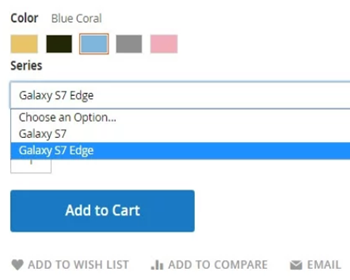
How Import Configurable Products to Magento 2
Learn how to create configurable products / update them and assign existing simple products to configurable. Read More...
How to Import Product Images to Magento 2
Images import CSV sample and instructions on import of images from externatl URLs or local server. Read More...
COMMENTS