
Import Magento 2 custom options from CSV
Import is a quick way to apply Magento custom options in bulk. And, arguably, it's more efficient and rational compared to adding custom options manually. Luckily, Magento 2 import tool allows you to upload custom options for multiple products. For successful import, you need to have properly configured file. How to prepare such a file, we'll describe below.
Import Magento 2 Custom Options Via Admin
If you want to import custom options via Magento admin, all customizable fields that should be assigned to a product must be nested in one file column in the following format:
Magento 2 Custom Options of Text, File or Date Type
option name=NAME, type=OPTION TYPE (file, date, image), required=VALUE (1 or 0), price=VALUE, price_type=TYPE (fixed or percent), sku=CUSTOM OPTION SKU
Magento 2 Custom Options of Select Type
option name=NAME, option type=TYPE (dropdown, radio button, checkbox, multiple select), required=VALUE (1 or 0), price=VALUE, price_type=TYPE (fixed or percent), sku=CUSTOM OPTION SKU, option_title=CUSTOM OPTION TITLE

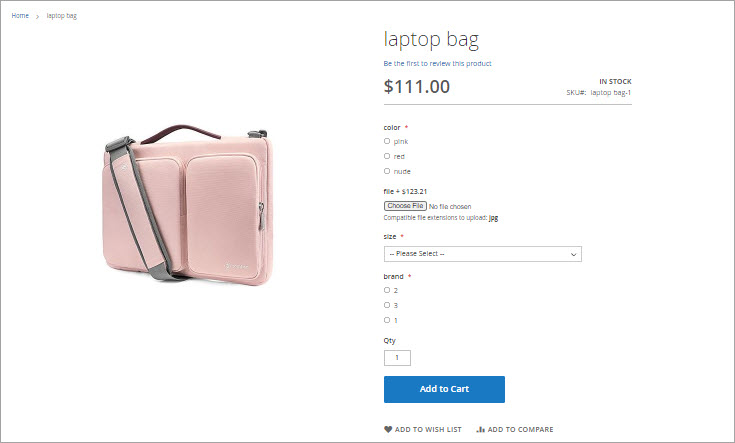
- Magento 2 custom option name - specify custom option name as it should be displayed for customers at the frontend (for example Print, Color, Shipped Till)
- Type - input a type for custom option to be created (dropdown, image, date, multiple select, text field, etc)
- Required - mark this field as required using 1 value and respectively put 0 if customer is not obliged to adjust this option before adding product to cart
- Price - if the customization, represented by Magento 2 custom option, should draw additional cost specify its value
- Price_type - decide on price type, to be exact how custom option price will be calculated - by percentage from simple product price or as fixed value
- SKU - provide unique identifier for each custom option
- Option_title - if you import custom option of select type, you are supposed to configure its value
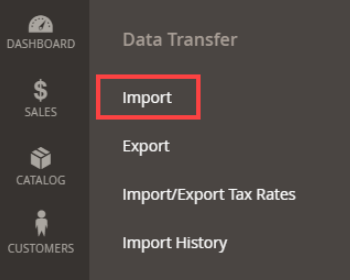
- Run import profile from System->Import.
- Select type of the entity to be uploaded to Magento 2 via the admin.
- Adjust the setting on this page before importing Magento 2 custom options, like import behaviour, field separators.
- Choose the file that stores products with custom options.
- Validate the file and confirm import if no warnings appear afterwards.
- Once the import finishes, check whether custom options have been created.

Using import to create custom options in bulk is really handy. Though, many users find it frustrating to create a properly structured import file since all related custom options seem to pile up and it is difficult to sort them.
FREE Tool for Magento Custom Options Import
Set Up FREEAn Alternative Way to Assign Custom Options to Magento 2 Products
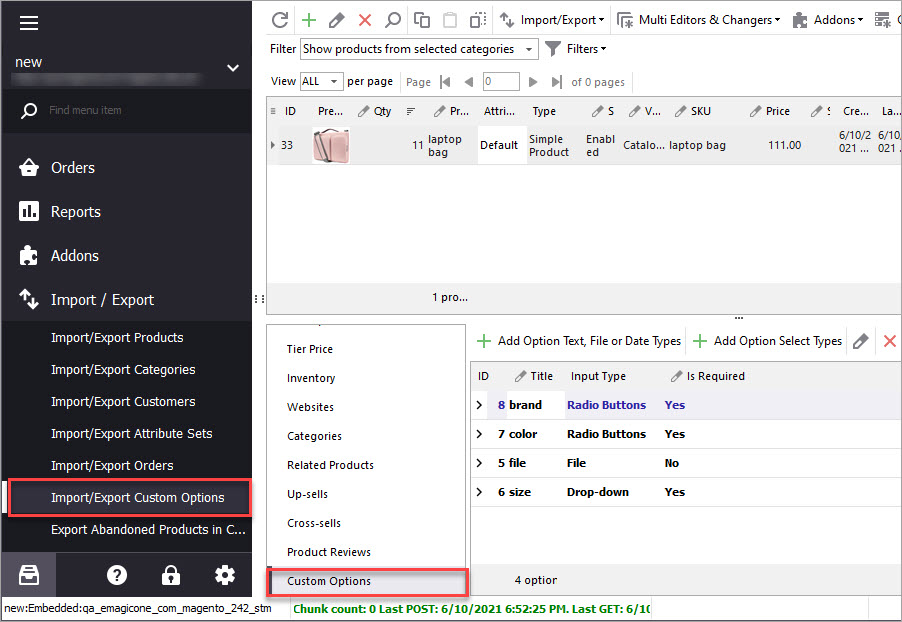
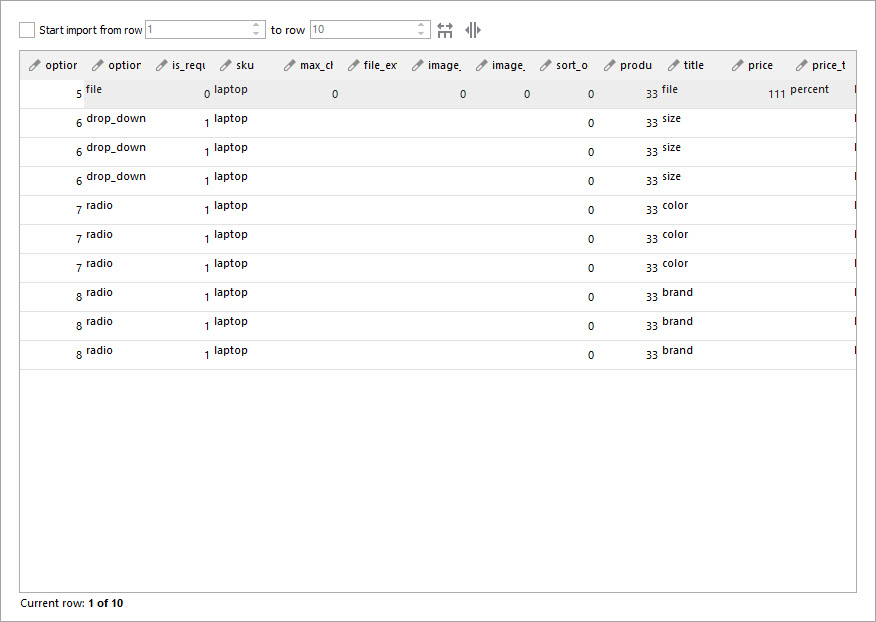
Store Manager for Magento offers a much easier import tool for custom options. File pattern required by Store Manager for Magento import tool allows you to smartly structure custom options within separate rows in a spreadsheet. Each option and value (custom option of select type) takes a separate row in the file. The screenshot below shows how it looks.

Below are the details that must be included in the file to assign Magento 2 custom options to products successfully:
- Option_type - specify the type for custom option you need to create.
- Is_required - put 1 in this column if custom option must be selected/configured/filled by a customer at the frontend.
- SKU - insert the identifier for Magento custom option.
- Value_SKU - uploading customized fields of select type, you certainly have values for each and these values should have SKU as well.
- Product SKU - add product identifier in this column, so custom options will be assigned to necessary product in the process of import.
- Sort_order - set position for custom options.
- Title - input name of custom option in this column.
- Price - provide price for custom options (non-select type).
- Price_type - specify what way price should calculate - percentage or fixed value.
- Value_price - uploading options of select type, you need to insert prices in this column.
- Value_price_type - set percentage or fixed if this field.
- Value_sort_order - set position for values, as they should display at the frontend.
- View_name - specify store view name.
All characteristics of the import file can be gleaned from exporting existing custom options data and taking a look at it.
Import of Magento 2 custom options through Store Manager is fulfilled in several simple steps:
- To open the Custom Options Import Wizard, navigate to sidebar -> Imports/Exports. After the wizard is launched, indicate a path to the source file with data to be imported.
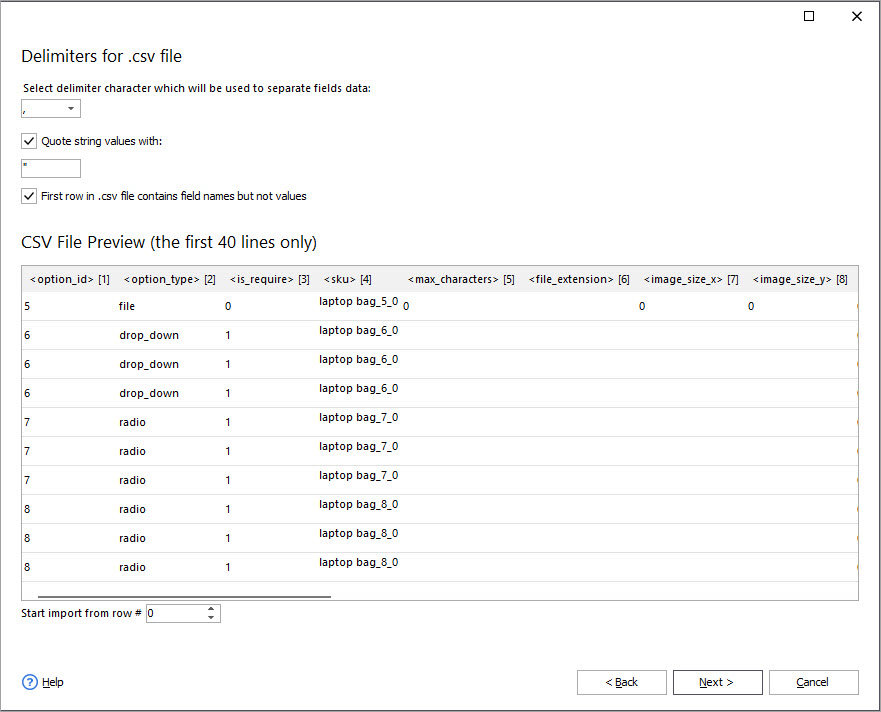
- Set delimiters used to detach details in the .csv file.
- If you import Magento 2 custom options to a specific store view, select it in the following step by selecting a respective check box.
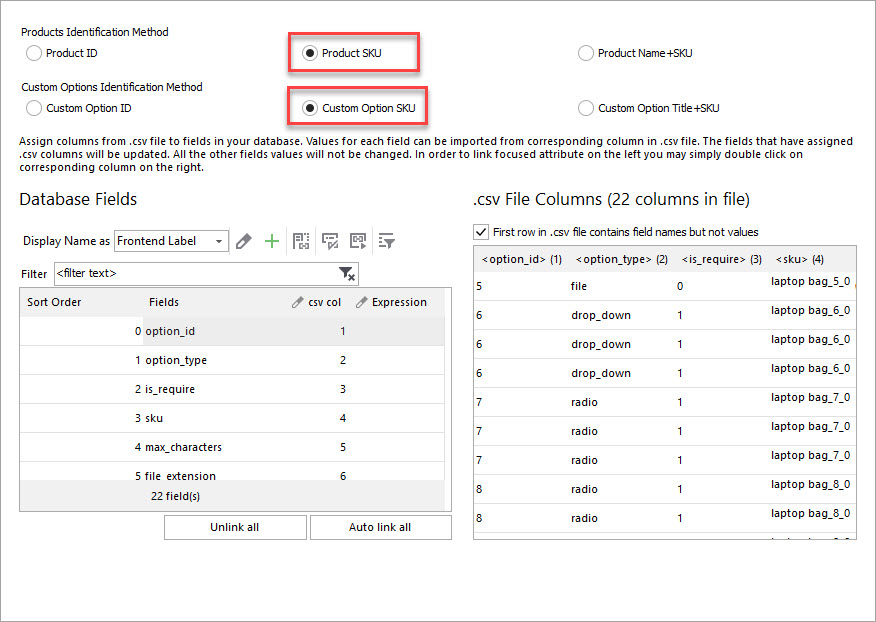
- Select a product and custom option identifier and map the fields that you have in the .csv file to the corresponding database fields.
- Preview custom file data in the following step.
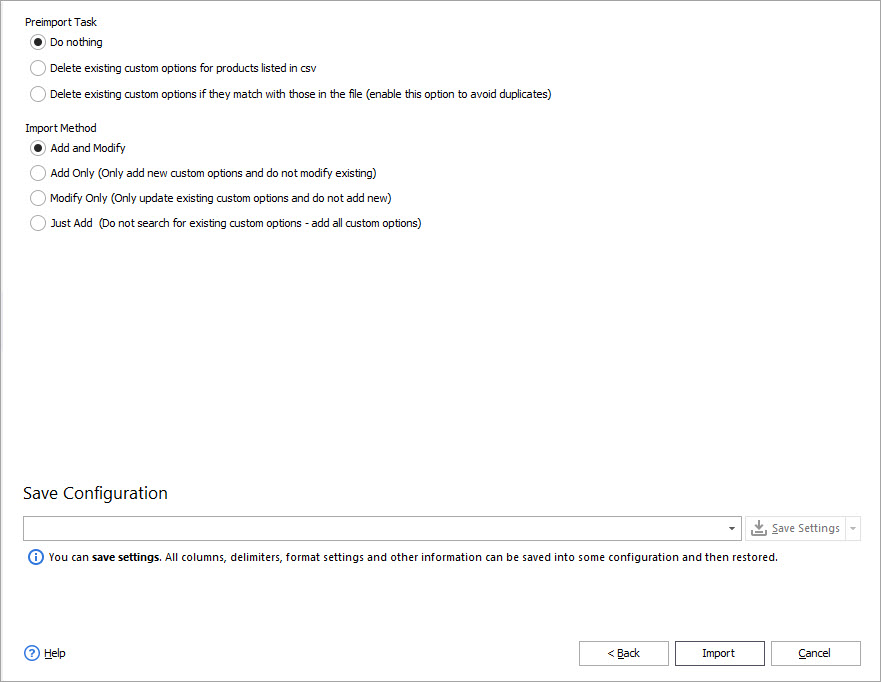
- Set suitable import options in the last step of the import.
- Check the products with custom options in Store Manager after the import finishes.

As you can see, import of custom options is much easier with Store Manager for Magento. You can also update existing custom options, assign new options to products that already have customizations, and do more in terms of custom option management.
Related Articles:
Magento Automated Custom Options Import
Schedule Magento custom options import to be accomplished automativally according to pre-set time. Read More...
How to Import Products in Magento 2
A very detailed guide on importing products to Magento 2: step-by-setp tutorial, CSV sample, useful tips. Read More...
Magento 2 Configurable Product Creating
Learn how to create Magento 2 configurable attributes and assign simple products to them. Read More...

Required Magento 2 Import Values
Get deep guide to prepare an accurate CSV for Magento 2 import. Read More...
COMMENTS