


How to perform Magento 2 excel import
The availability to perform Magento 2 import of excel files into a web store seems a big advantage for those who own a large stock of products and need to process them massively. Unfortunately, Magento 2 backend does not support file upload in any other format, than .csv. So if you want to make a Magento 2 import of an excel file manually, you must use some tools to change the format into .csv or try to convert it by yourself. Though you should keep in mind, that online converting tools may break the file structure, so you would better to avoid applying them. You can also perform converting through the excel option letting you save the file in another format according to you computer system settings.
Magento Store Manager offers an opportunity to import excel files into the backend part of store easily and quickly, automatically converting them into .csv. Besides, it supports other file formats import, like csv, xlsx, xml, ods and txt. In this article we will find out how to perform Magento 2 products import in excel format. You should note, that Magento 2 excel import using Store Manager refers exclusively to products import.
How to Import an Excel File via Magento Store Manager
In order to upload excel file into Magento store using Store Manager application, follow these steps:
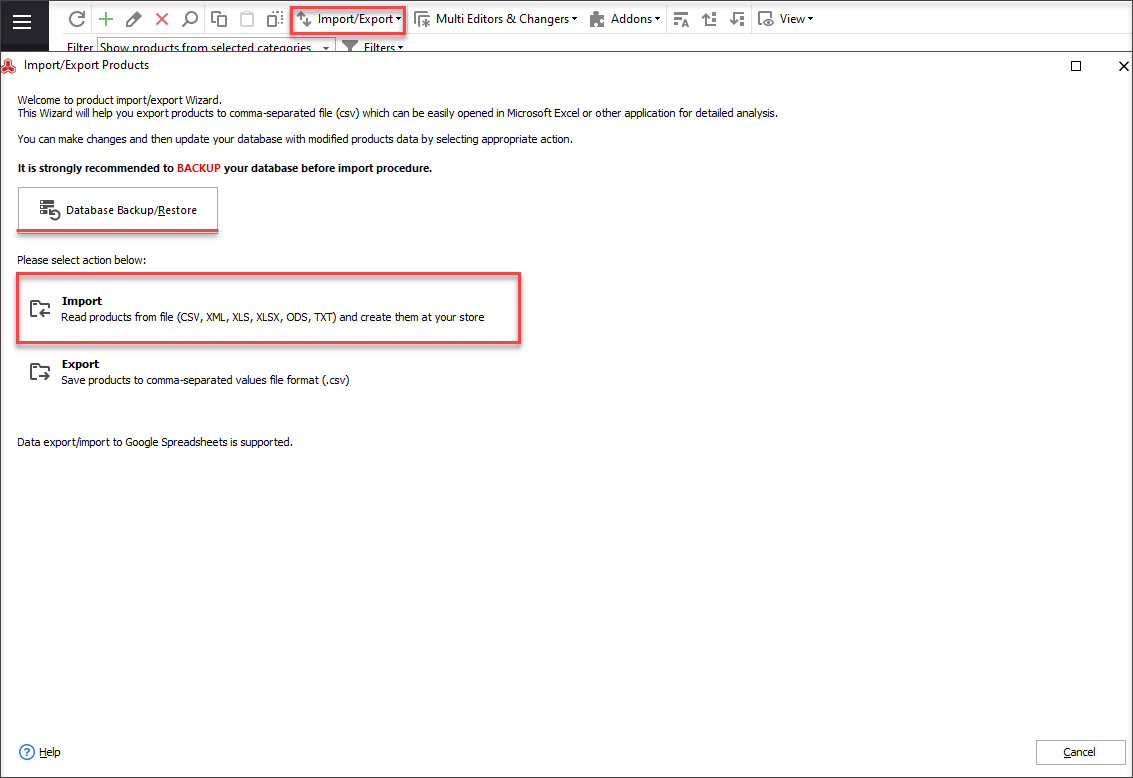
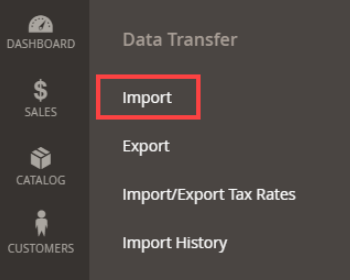
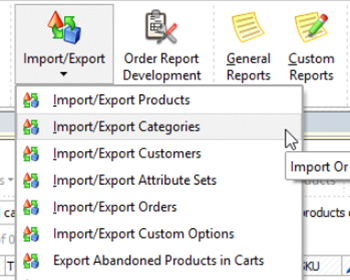
- Find Import/Export section on the toolbar and select 'Products' from the list.
- Before the import, it is recommended to backup store database to make the process secure. Press 'Import' to start the upload.
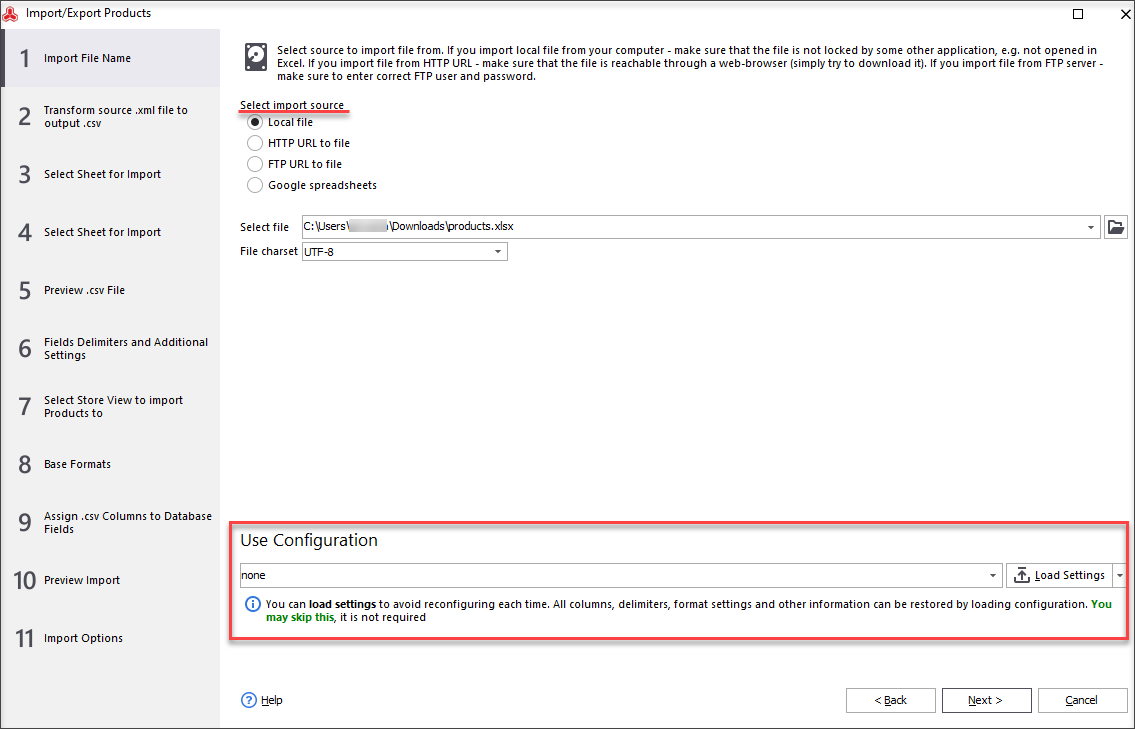
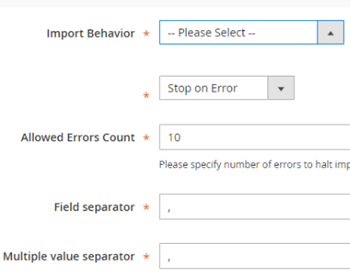
- Select source to upload the file from and specify the file charset. Make sure that the file is not open in Excel application, so it is not locked for the import. In case you have a saved configuration, you can use it.
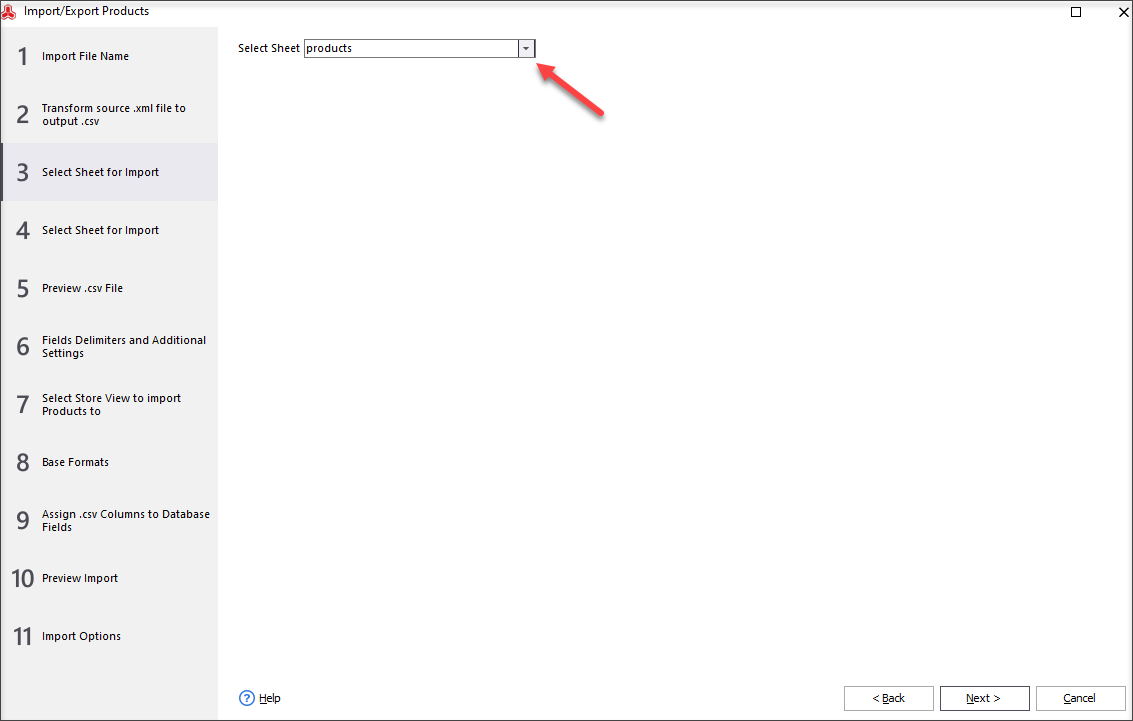
- Next select the sheet to be imported.
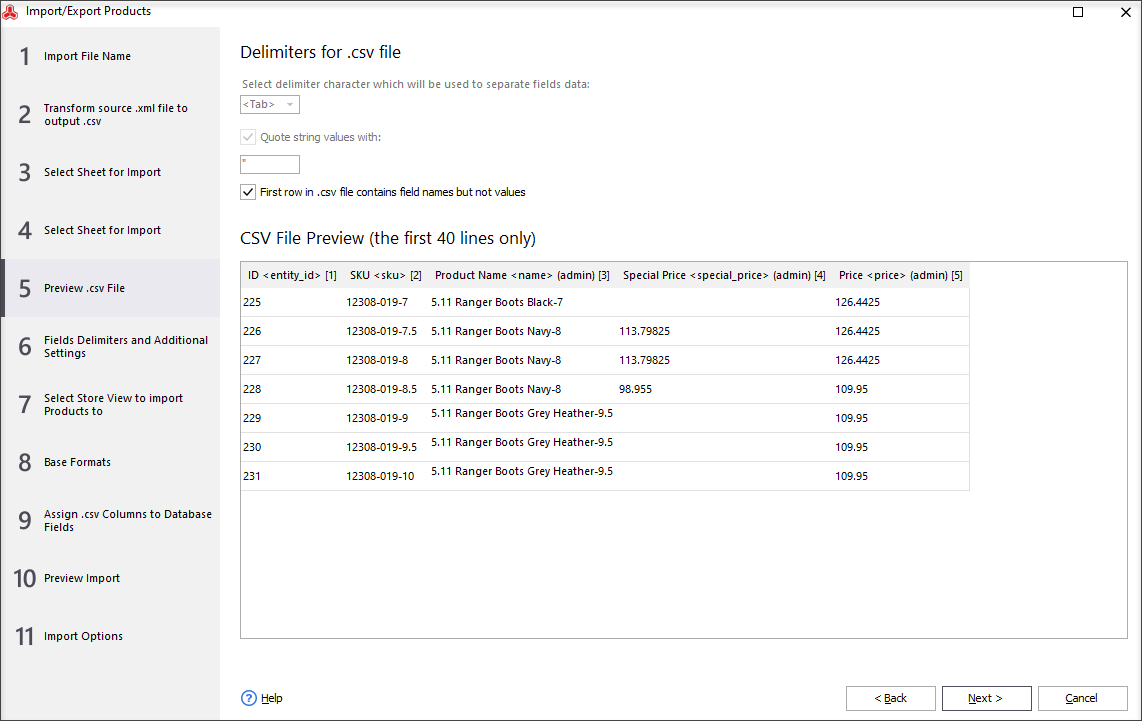
- Preview the .csv file and if it is ok, click Next.
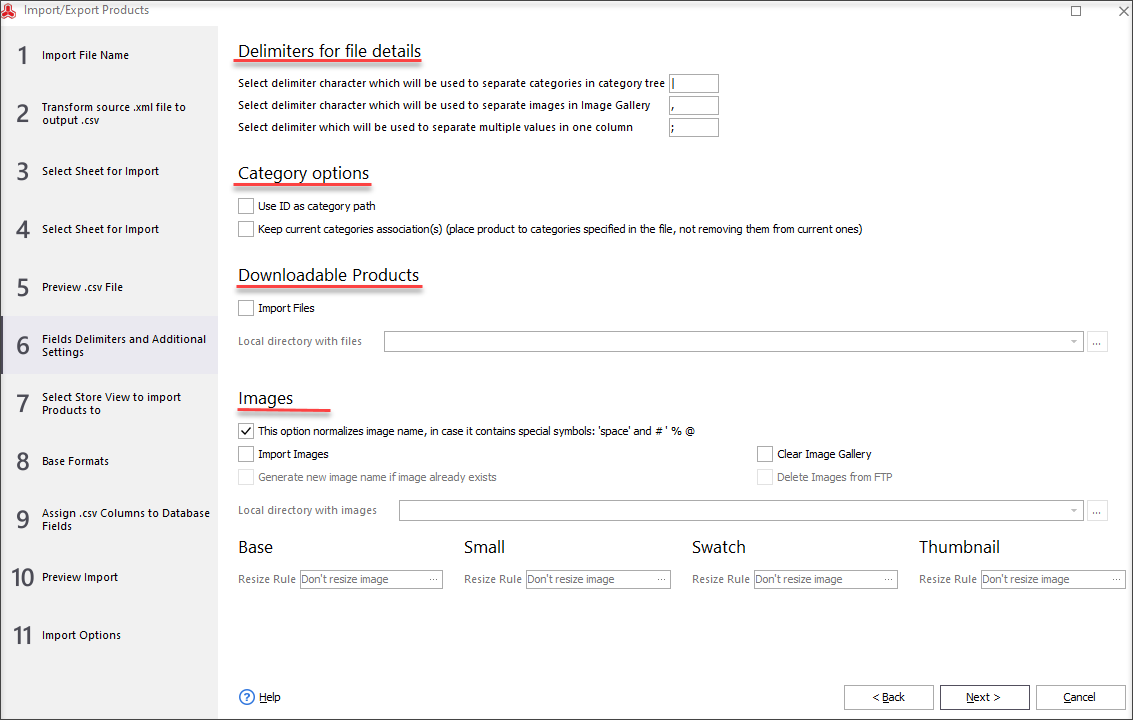
- Specify the fields delimiters and check out some additional settings. If your file contains images, do not forget to tick the option normalizing an image name, in case there are used such symbols like space, #, @ or %.
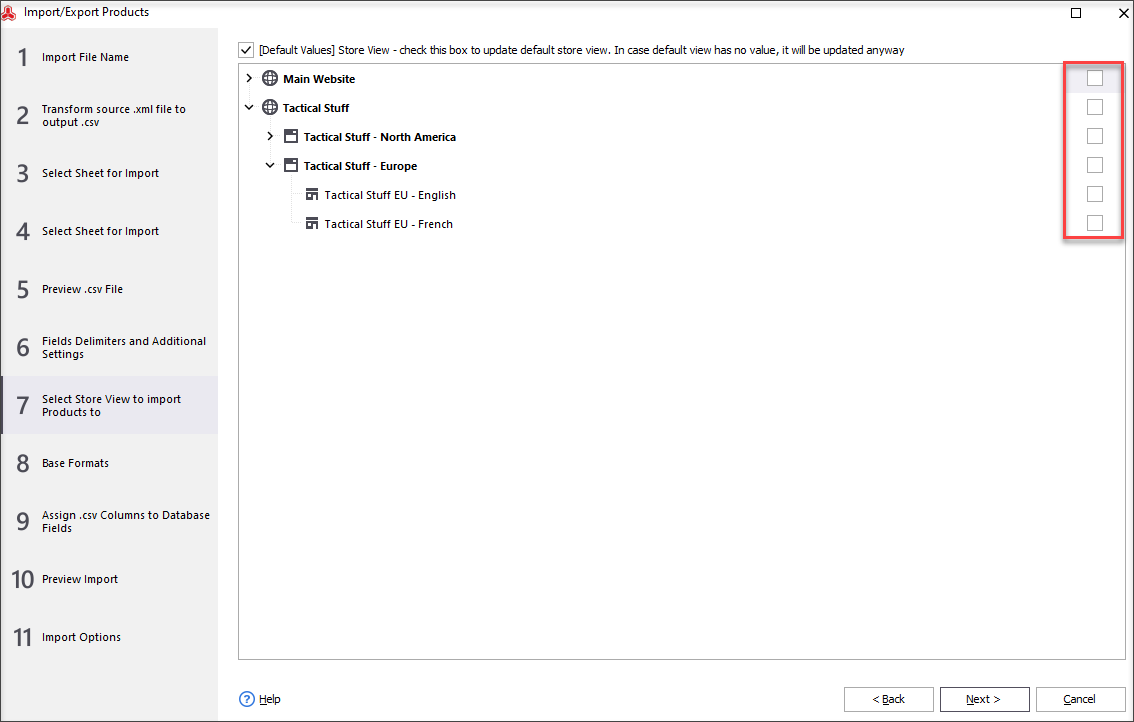
- Select the store view to upload the file to.
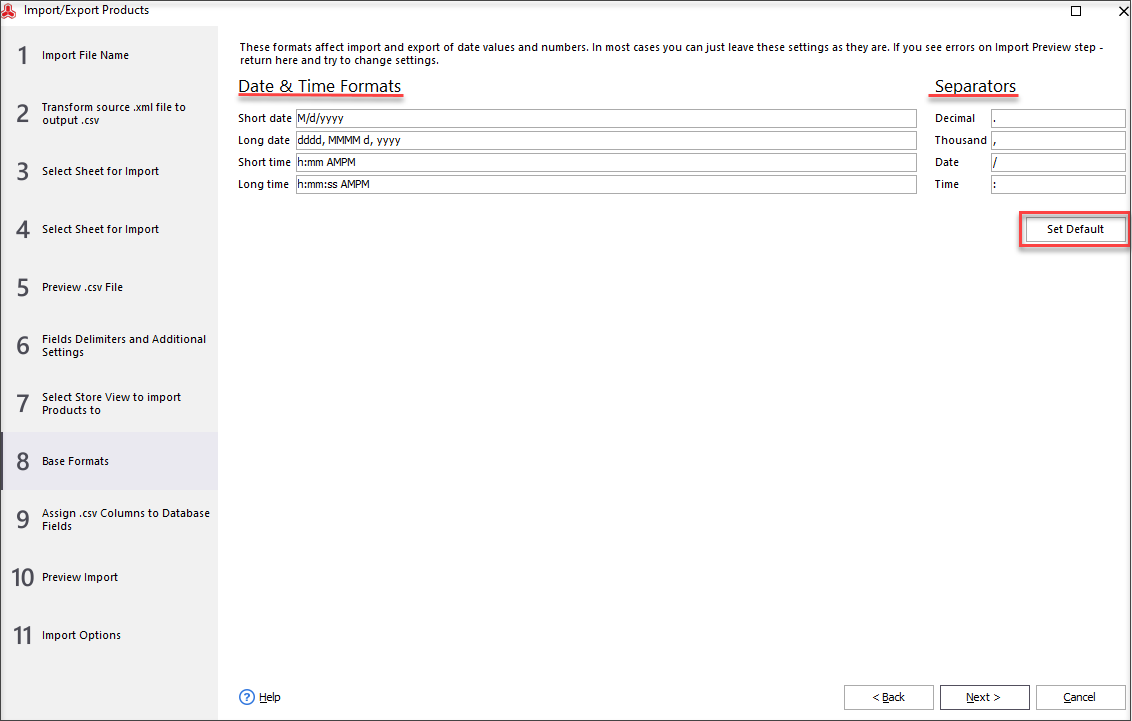
- Specify base formats and separators. In most cases you can just leave the default settings. If something goes wrong on the Import Preview step, return here and change the settings.
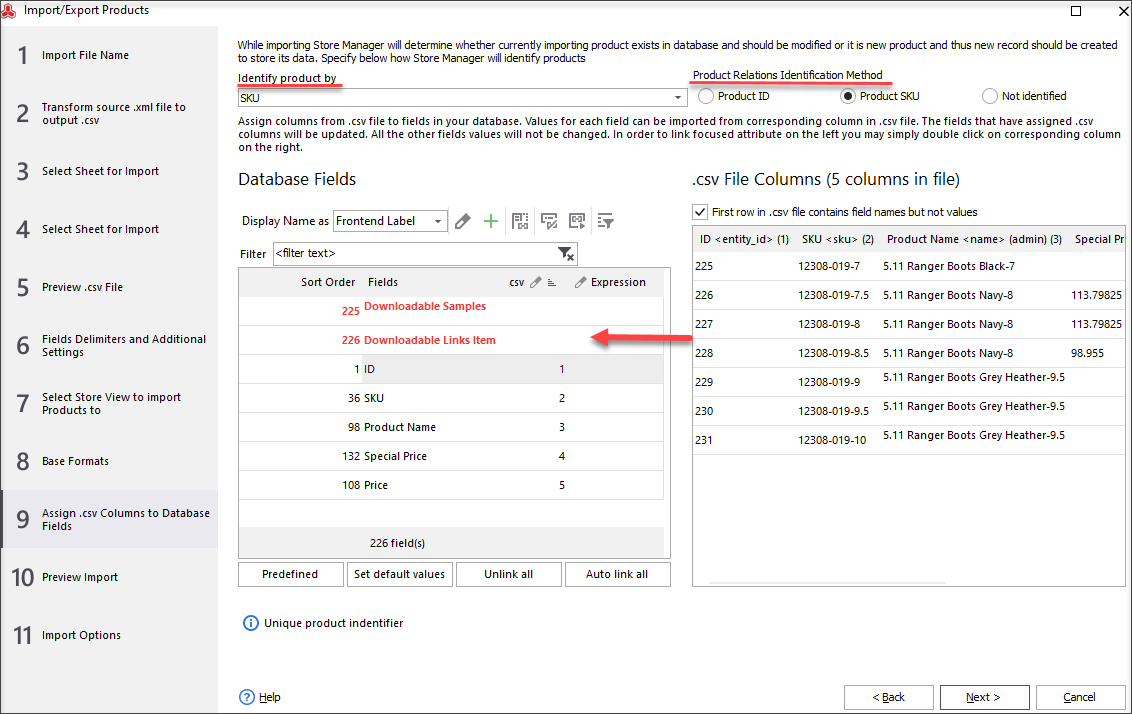
- During the import Store Manager determines if the file being loaded is already contained in the database and must be modified or it is new, so the program will create a new record to store it’s data. That’s why on this step you have to assign .csv columns to database fields.
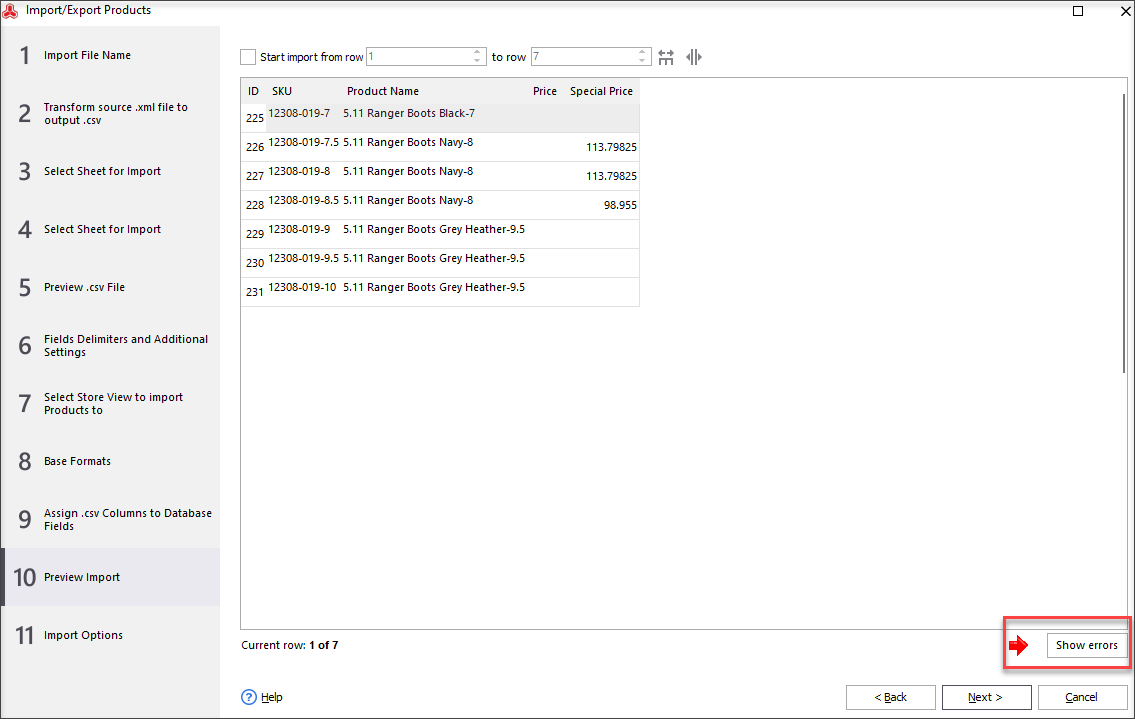
- Preview the import file and check that no errors occurred during the process by pressing 'Show Errors' button.
- Select the import method to be used for your excel file upload. In addition, you are able to perform some actions over the products out of the file (delete/set as 'Out of Stock', set as 'Disabled') and clear the relations between the existing files, ticking a box with the corresponding relation.
This will transfer you to Import/ Export Wizard.
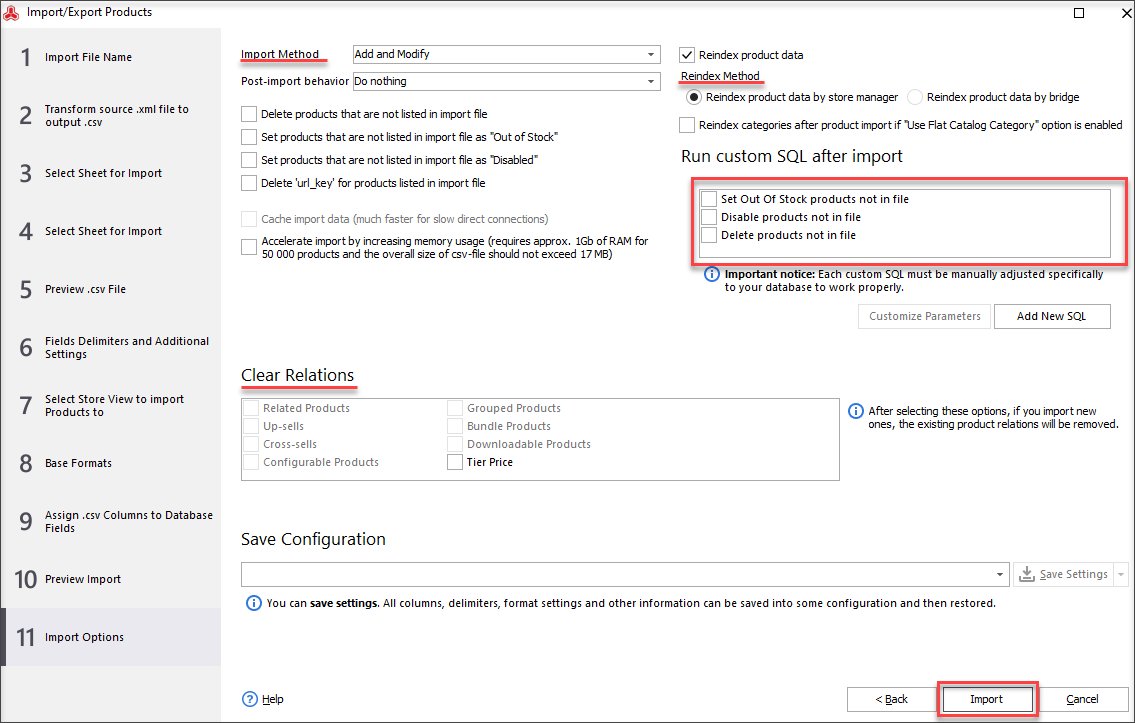
Be sure to check all options on this stage and press 'Import' to have the excel file uploaded to your store backend.
Forget Magento 2 excel import inconveniences and perform the upload via Store Manager for Magento.
Import Excel Files to Magento 2 Backend Now Free
Import Now
Related Articles:
How to Import Products in Magento 2
A very detailed guide on importing products to Magento 2: step-by-setp tutorial, CSV sample, useful tips. Read More...

Required Magento 2 Import Values
Get deep guide to prepare an accurate CSV for Magento 2 import. Read More...
How to Import Magento 2 Customers
Learn how to upload Magento 2 customers from different file formats (.csv, .xls/.xslx, .ods, .xml and .txt). Read More...
Export All Categories From Magento 2
Check how you can export all Magento 2 categories with products via export assistant. Read More...
COMMENTS