
How to export all categories from Magento 2?
In Magento 2, the list of available entities for export does not include categories. You can only export all products from the store. So, you may wonder how to export all categories from Magento 2? There is a way.
With Store Manager for Magento it is possible to export all categories from the store using a convenient Export Wizard. You can export all category related data and configure multiple export options to adjust the process to your needs.
To learn how to accomplish categories export, check the following tutorial.
How to Export All Categories From Magento 2 Store?
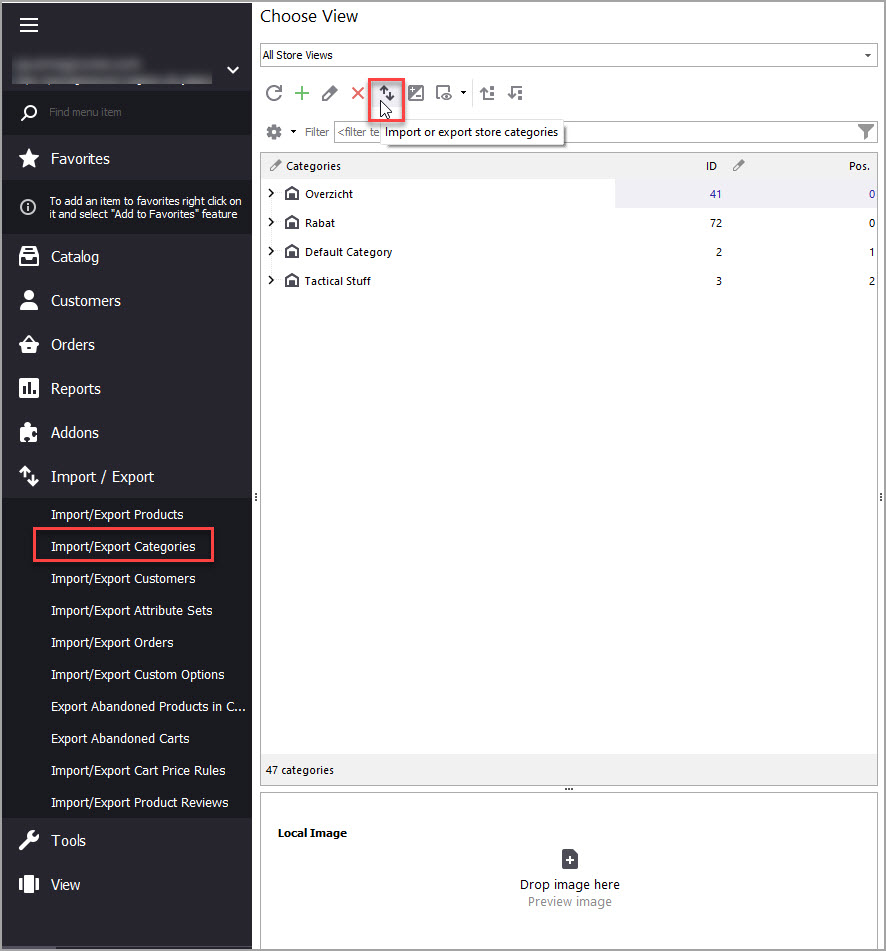
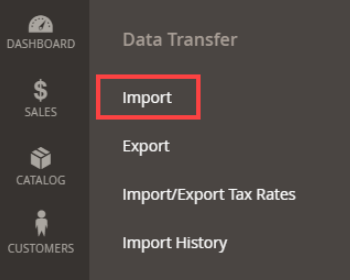
- From Store Manager toolbar click on Import/ Export Wizard and select Import/Export Categories option.
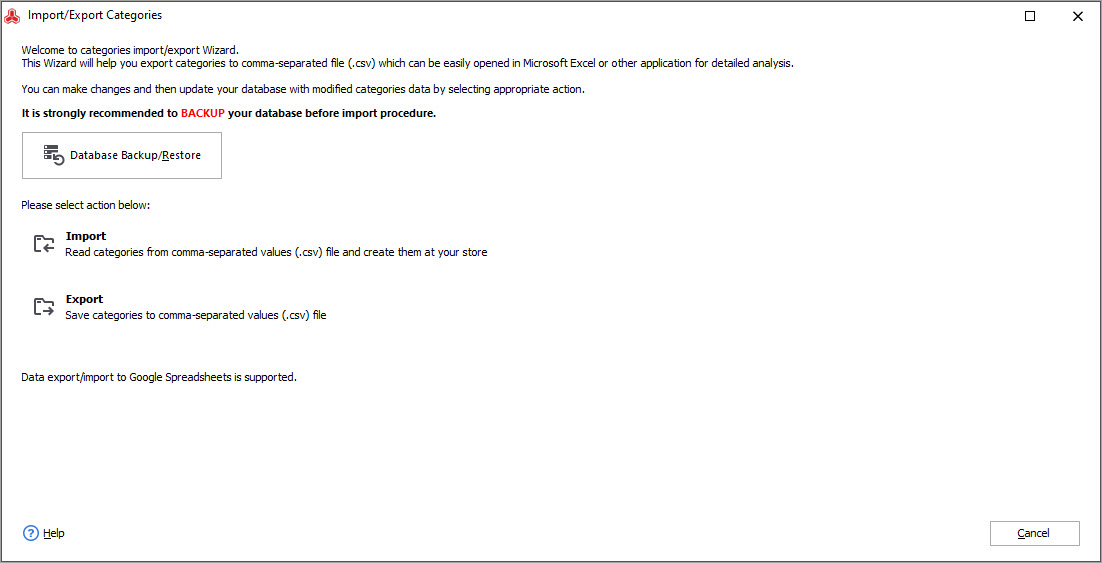
- It is recommended to execute database backup before running the export. You can start configuring the backup by pressing the Database Backup/Restore button.
- Choose the 'Export' action.
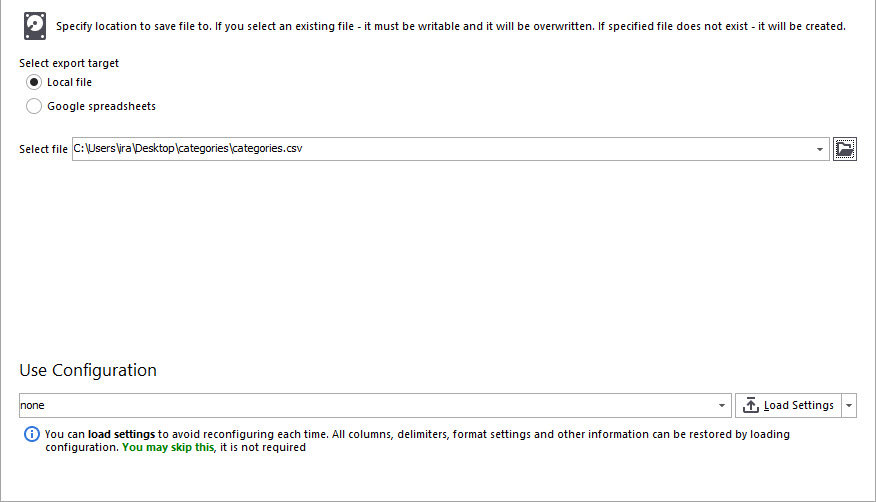
- Select the CSV to save the exported categories to.
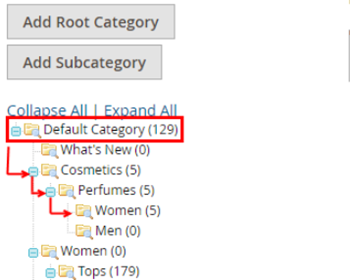
- On the next step, you have to choose whether you want to export all categories from Magento 2, or selected categories (in our case, you need to select the first option).
- Select the delimiters that will be used to separate data in the CSV.
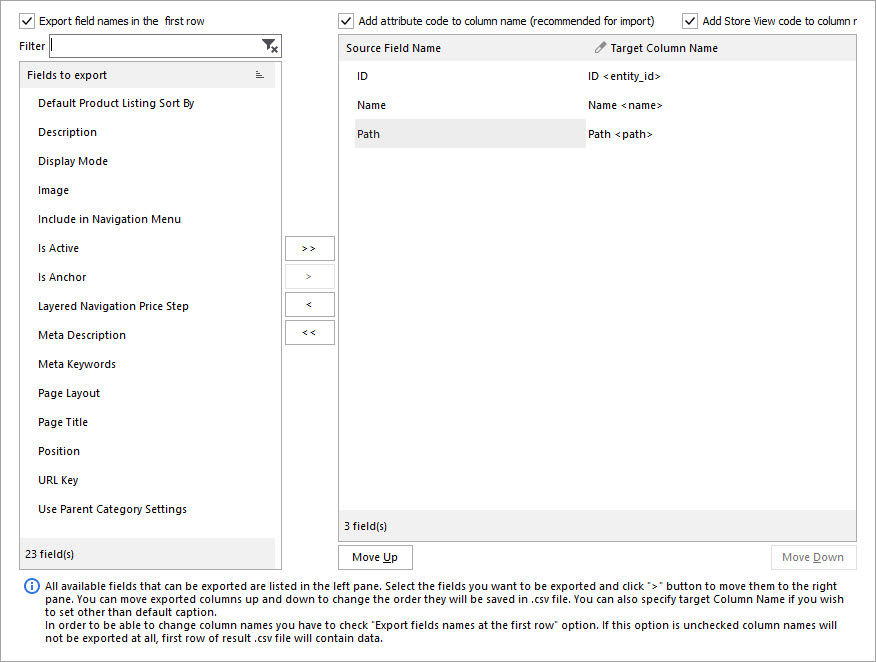
- Next you have to select what database fields to export to CSV. You can do this using the navigation buttons between the grids or double clicking on the fields.
- Export field names in the first row
- Add attribute code to column name
- Add store view code to column name
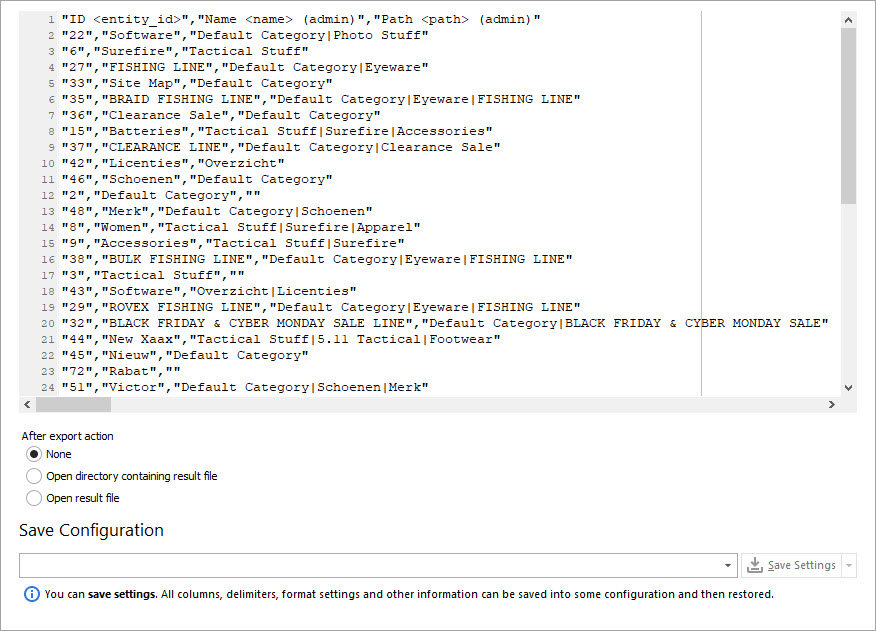
- Preview the export file and select the after export action. You can also save the configuration to use it during the further export procedures.
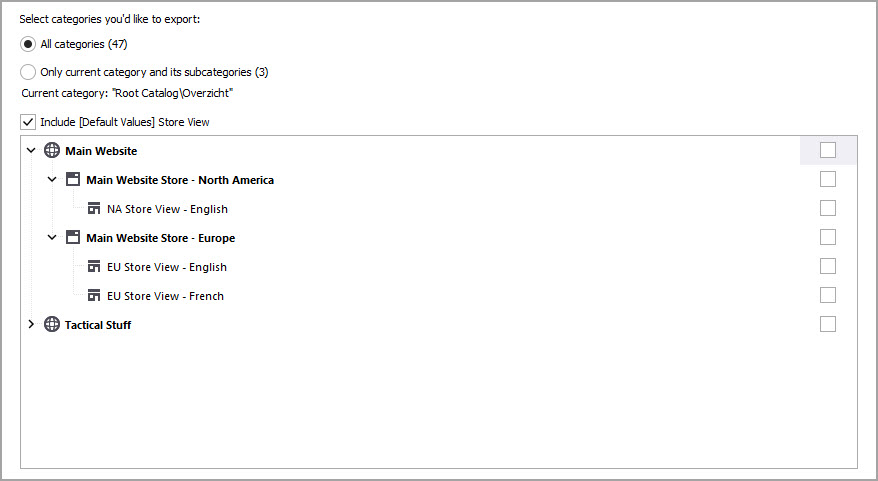
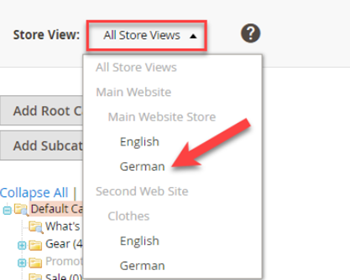
Also, tick the store views from which you want the categories to be exported.
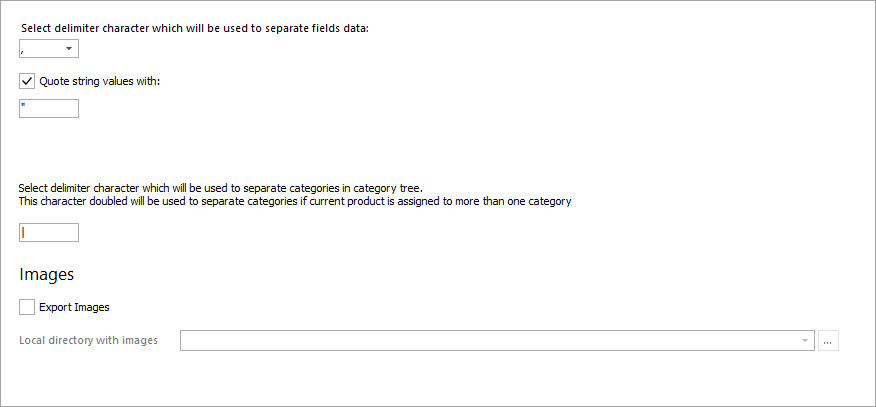
In case you want to export Magento 2 categories with images, check the 'Export Images' box and input the path to local directory containing the media.
Pay attention to the following checkboxes:
Check them if necessary.
To start the process, press 'Export'.
Now when you are done with category export, you might want to modify CSV and import it back to Magento 2. To learn how to do this, use this tutorial How to Import Categories to Magento 2?
Export all categories from Magento 2 using Store Manager for free - Try Now
Related Articles:
How to Import Categories to Magento 2
Detailed guide on Magento 2 category import withh CSV sample. Read More...
Set Multi-Lingual Category Tree in Magento 2
Find out how to translate category data from the back-end or via Store Manager using the import tool. Read More...
Change Product Position in Category in Magento 2
It is possible to change product position in category in Magento 2 manually for each category via CSV file. Read More...
How to Import Products in Magento 2
A very detailed guide on importing products to Magento 2: step-by-setp tutorial, CSV sample, useful tips. Read More...
COMMENTS